Before you shell out money on a new power supply, some basic troubleshooting might resolve the issue. Here are some easy ways you can troubleshoot a bad PSU.
Check
Make sure the power cord is securely connected. It should be firmly plugged into the power supply and the PC.
Also, look for any signs of wear or damage on the cord. You may need to swap the power cord for a new one to rule out any issues with it.
Next, look at the components inside the PC. Check all internal cables - 24-pin ATX cable, 8-pin EPS cables, and SATA cables.
They also need to be connected securely. Then look for damaged or bent pins on these cables.

Clean
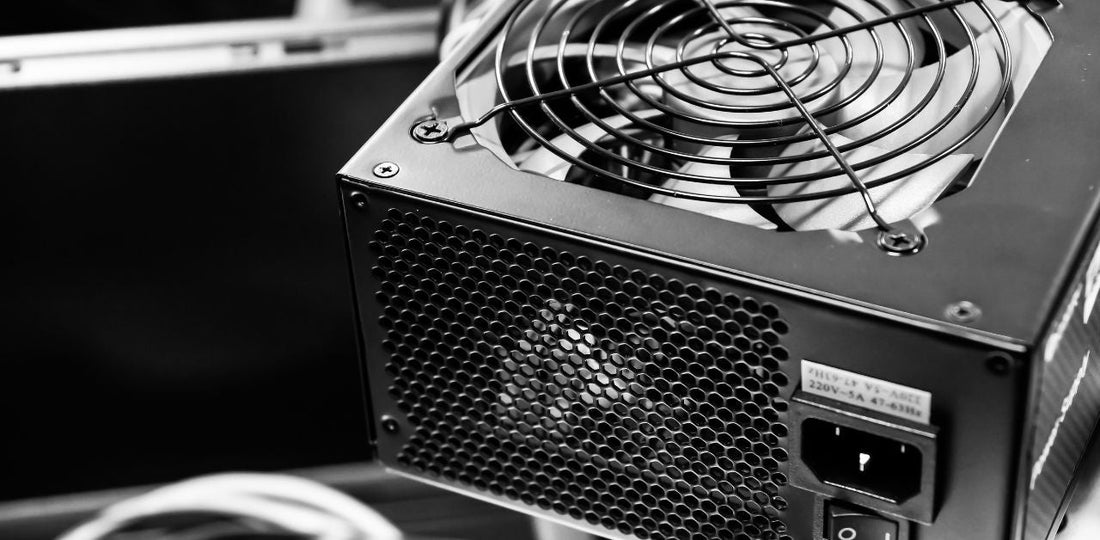
Carefully spray compressed air into the PSU vents to remove dust and debris. Don't overdo it with the air, this can damage the PSU!
Use a soft-bristled brush to gently sweep away any remaining dust or debris from the power supply vents and internal components.
Never use liquids to clean the power supply, as this can damage the components or cause electrical shock!

Replace
Once you've confirmed your PSU is completely dead, it's time for a full replacement. Pick a PSU that matches the wattage and voltage requirements of your PC.
Unplug the power cord and ground yourself to prevent damage to other components. Disconnect any internal cables from the old power supply and set them aside.
Mount the new power supply in the same location as the old one and reconnect the internal cables.
Plug in the power cord and test the power supply to ensure it's functioning correctly.

Wrapping Up
Check for secure power cords and make sure they aren't damaged.
Clean your PSU thoroughly and carefully with compressed air.
And if all else fails, check that your PSU is available for replacement via warranty.